Ruler Guide: A Comprehensive Overview (Updated 03/31/2026)
Today’s date is 03/31/2026 09:58:47. This guide explores rulers for construction, drafting, crafting, education, and specialized industries, ensuring precise measurements are always achievable.
Rulers, seemingly simple tools, are foundational to countless disciplines, serving as the bedrock of accurate measurement across diverse fields. From the meticulous precision demanded in architectural blueprints to the careful crafting required in sewing patterns, the ruler’s role is undeniably critical. They facilitate precise measurement for construction, technical drawing, drafting, and educational purposes, ensuring projects are executed with accuracy and consistency;
The importance of a ruler extends beyond mere length determination; it’s about establishing a standardized system for quantifying space. This standardization is vital for collaboration, replication, and the overall success of any project requiring dimensional accuracy. Whether scaling drawings, measuring blueprints, or creating technical diagrams, the correct ruler empowers professionals and hobbyists alike. Selecting the right ruler, therefore, isn’t just about choosing a tool – it’s about investing in the quality and reliability of your work.
Historical Development of Measuring Tools
The quest for accurate measurement is ancient, predating standardized rulers by millennia. Early civilizations relied on body parts – the hand, foot, and cubit – as units of length, inherently inconsistent and localized. Egyptians, around 3000 BC, employed knotted ropes and marked rods, representing early attempts at fixed measurement. The Romans further refined these methods, establishing standardized units, though still reliant on physical artifacts.
The development of the modern ruler evolved gradually. Medieval Europe saw the emergence of measuring bars crafted from wood or metal, often linked to royal standards. The 17th and 18th centuries witnessed increasing precision with the introduction of improved metalworking techniques. The Industrial Revolution spurred mass production, making rulers more accessible. Today, advancements in materials and manufacturing continue to refine ruler design, offering specialized tools for diverse applications, building upon centuries of iterative improvement.
Types of Rulers
Rulers come in diverse forms, including standard linear, architect scales, engineering scales, metric, and flexible varieties, each designed for specific measurement tasks and industries.
Standard Linear Rulers
Standard linear rulers are arguably the most recognizable and widely used type of ruler, serving as the foundational tool for basic measurement needs. Typically constructed from materials like plastic, metal, or wood, these rulers feature consistently spaced markings – often in inches and centimeters – along a straight edge. Their simplicity makes them ideal for everyday tasks, from schoolwork and crafting to quick home measurements.
These rulers are invaluable for students learning fundamental measurement concepts, artists sketching designs, and anyone needing to determine length, width, or height. While lacking the specialized features of other ruler types, their versatility and affordability ensure they remain a staple in homes, classrooms, and workshops globally. The accuracy of a standard linear ruler depends on the quality of its construction and the clarity of its markings, making careful selection important.
Architect Scales & Triangular Scale Rulers
Architect scales and triangular scale rulers are essential tools for professionals in architecture, design, and engineering. Unlike standard rulers, these don’t display measurements directly in inches or centimeters. Instead, they feature scales representing proportions of actual sizes, allowing users to accurately scale drawings and blueprints. Common scales include 1/4″, 1/2″, 3/4″, and 1″ representing feet, or metric equivalents.
Triangular scale rulers consolidate multiple scales onto a single tool, with each face representing a different scale. This compact design enhances efficiency and reduces clutter. They are specifically designed for scaling drawings, measuring blueprints, or creating technical diagrams. Mastering these rulers requires understanding scale ratios and applying them correctly to ensure accurate representation of designs before construction or fabrication begins, making them indispensable for precise project visualization.
Engineering Scales
Engineering scales, similar to architect scales, are crucial for professionals in civil, mechanical, and electrical engineering. They facilitate the creation and interpretation of detailed technical drawings, but often utilize different scale ratios tailored to engineering applications. These scales allow engineers to represent large structures or intricate components accurately on a smaller, manageable format.
Like triangular scales, engineering scales don’t display direct measurements; instead, they represent proportional reductions or enlargements of real-world dimensions. Understanding these ratios is paramount for accurate design and analysis. Discover everything you need… architectural, engineering, and metric scales, and the benefits of utilizing these specialized tools. They are vital for ensuring precision in designs, calculations, and ultimately, the successful execution of engineering projects, demanding a high degree of accuracy and attention to detail.
Metric Rulers
Metric rulers are fundamental tools employing the decimal-based metric system, displaying measurements in millimeters (mm) and centimeters (cm). Unlike imperial rulers, metric rulers offer a straightforward, globally recognized standard for length measurement, simplifying calculations and conversions. These rulers are widely used in scientific research, education, and industries adhering to the metric system, ensuring consistency and accuracy across diverse applications.
The ease of use and universal acceptance of the metric system make these rulers indispensable. They are often constructed from durable plastics or metals, providing longevity and precision. Precise measurement for construction, technical drawing, drafting, crafting, and educational purposes is easily achieved with a quality metric ruler. Understanding metric units and their relationships is key to effectively utilizing these tools, promoting standardized measurements in a global context.
Flexible Rulers
Flexible rulers, often crafted from plastic or rubber, distinguish themselves through their ability to conform to irregular surfaces. This adaptability makes them ideal for measuring curved lines, contours, and objects lacking straight edges – a task challenging for rigid rulers. Tailors and designers frequently employ flexible rulers for pattern drafting and garment construction, ensuring accurate measurements on fabric and body forms.
Their versatility extends beyond fashion; they’re valuable in crafting, DIY projects, and even medical settings for approximating body measurements. While offering convenience, it’s crucial to maintain tension control during measurement to prevent stretching and ensure accuracy. The best type of tools will give you great accuracy in your sewing projects, and flexible rulers are a prime example. They provide a practical solution when conventional rulers fall short, offering a unique approach to measurement.

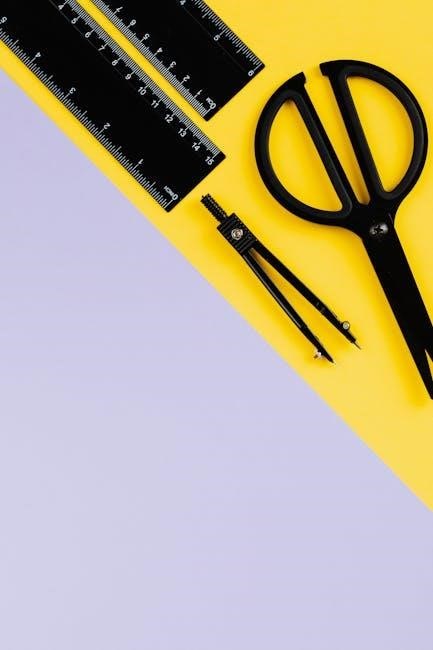
Specialized Rulers for Specific Industries
Various industries utilize specialized rulers, including carpentry squares, tailoring rulers, drafting tools like T-squares, and architect scales for precise, task-specific measurements.
Carpentry Squares & Rulers
Carpentry relies heavily on specialized measuring tools, with the carpenter’s square being paramount for ensuring accurate right angles in construction projects. These squares aren’t simply for marking; they verify the squareness of corners during framing, fitting, and assembly. Beyond the basic square, carpenters employ various rulers designed for layout and measurement of lumber.
These rulers often feature clear, bold markings for easy readability on job sites, and are constructed from durable materials like steel or aluminum to withstand rough handling. Accurate measurements are critical in carpentry, as even slight errors can compromise the structural integrity of a build. Different types of carpentry rulers cater to specific needs, from short combination squares to longer straightedges for extended measurements. The carpenter’s square remains a foundational tool, guaranteeing precision and efficiency in woodworking endeavors.
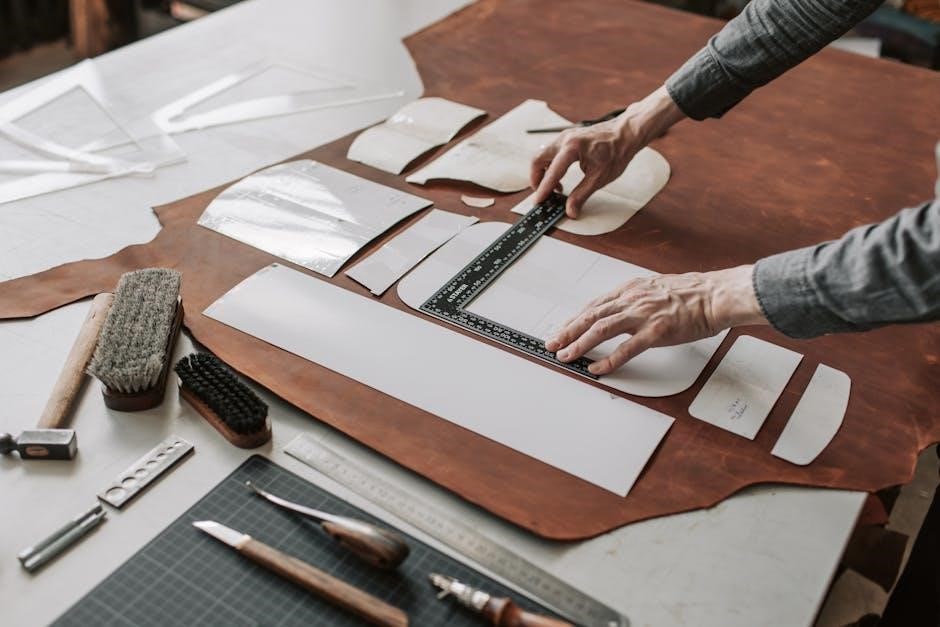
Tailoring Rulers
Tailoring demands precision, and specialized rulers are essential for pattern drafting and sewing projects. These aren’t your standard linear rulers; they’re designed with the unique needs of garment construction in mind. A variety of tailoring rulers exist, each serving a distinct purpose. Grading rulers facilitate consistent size adjustments to patterns, while grid rulers aid in creating accurate seam allowances and pattern pieces.
Bias rulers are crucial for cutting fabric on the bias grain, essential for creating draped or flowing garments. Design curve rulers assist in shaping necklines, armholes, and other curved edges. Many sewists expand their toolkit with flexible rulers for complex curves and measurements. Investing in these tools ensures greater accuracy, efficiency, and professional-looking results in all sewing endeavors, elevating projects beyond basic construction.

Grading Rulers
Grading rulers are indispensable tools for patternmakers and anyone needing to adjust garment sizes systematically. Unlike standard rulers, these are specifically calibrated to incrementally increase or decrease pattern dimensions, ensuring proportional scaling. They feature multiple parallel lines representing different size increments, typically ranging from 1/4 inch to 1 inch per line.
This allows for quick and accurate adjustments across an entire pattern, maintaining the original design’s integrity. Grading rulers streamline the process of creating a full range of sizes from a base pattern, saving significant time and reducing errors. They are particularly valuable for businesses producing clothing in multiple sizes, ensuring consistency and quality control. Mastering the use of a grading ruler is a key skill for professional pattern development and alteration services.
Grid Rulers
Grid rulers are characterized by a pattern of intersecting lines forming a grid, typically in both inches and centimeters. This unique design makes them exceptionally useful for tasks requiring precise alignment and spacing, particularly in quilting, scrapbooking, and other crafts. The grid lines act as guides for cutting fabric, drawing straight lines, and creating evenly spaced designs.
Beyond crafting, grid rulers find application in graphic design and technical drawing where consistent spacing is crucial. They simplify the creation of charts, graphs, and diagrams, ensuring accuracy and neatness. The clear markings and durable construction of grid rulers make them a versatile addition to any workspace. Choosing a grid ruler with non-slip backing further enhances precision and control during use, improving project outcomes.
Bias Rulers
Bias rulers are specialized tools primarily utilized in the tailoring and garment construction industries. Their primary function is to accurately measure and mark fabric for cutting on the bias – a technique crucial for creating garments with drape and stretch. Unlike standard rulers, bias rulers often feature angled markings corresponding to common bias angles, streamlining the cutting process.
These rulers are indispensable for creating bias tape, collars, cuffs, and other design elements requiring fabric to stretch and conform to curves. Accurate bias cutting ensures that garment pieces fit correctly and maintain their intended shape. Skilled tailors and designers rely on bias rulers to achieve professional-quality results, enhancing the overall aesthetic and functionality of their creations. Investing in a quality bias ruler is essential for anyone serious about pattern drafting and sewing.
Design Curve Rulers
Design curve rulers are versatile tools favored by fashion designers, pattern makers, and illustrators. Unlike straight rulers, these feature a variety of curved lines and shapes, enabling the creation of smooth, organic designs. They are particularly useful for drafting necklines, armholes, and other contoured elements of garments, ensuring a natural and flattering fit.
These rulers facilitate the development of unique and flowing designs that would be difficult to achieve with conventional tools. They allow for quick and accurate sketching of curves, streamlining the design process and fostering creativity. Design curve rulers are available in various configurations, catering to different design needs and preferences. A quality design curve ruler is an invaluable asset for anyone involved in fashion design or illustration, promoting precision and artistic expression.
Drafting Rulers
Drafting rulers are essential tools for professionals in architecture, engineering, and technical drawing. These rulers go beyond simple linear measurement, offering specialized features for creating precise and scaled diagrams. They are designed to facilitate the accurate representation of blueprints, technical schematics, and detailed illustrations.
Common types include T-squares, used with a straight edge to create accurate right angles and horizontal lines, and scale rulers, available in 2-bevel and 4-bevel configurations. These scale rulers allow for easy conversion between different units of measurement, crucial for working with architectural or engineering plans. Understanding drafting scales is paramount for accurate representation. The choice of ruler depends on the specific drafting task, but all drafting rulers prioritize precision and efficiency in technical drawing applications.
T-Squares
T-squares are fundamental drafting tools, prized for their simplicity and effectiveness in creating accurate right angles and horizontal lines. Typically constructed with a long blade attached perpendicularly to a head, they function by gliding along the edge of a drawing board. This ensures lines are consistently parallel or perpendicular, vital for precise technical drawings.
The head of the T-square is often made of clear acrylic or plastic, allowing the drafter to see the drawing beneath. They are indispensable for laying out floor plans, elevations, and other architectural designs. While seemingly basic, mastering the T-square is crucial for foundational drafting skills. Combined with other drafting rulers, they form the cornerstone of accurate and professional technical illustrations, ensuring consistency and precision in every line drawn.
2-Bevel Scale Rulers
2-Bevel scale rulers are versatile tools favored in architectural and engineering drafting for their ability to read measurements from two different scales simultaneously. These rulers feature two graduated scales, typically positioned at 90 degrees to each other, allowing for quick conversions and scaling of drawings without needing separate tools.
This dual-scale functionality streamlines the process of working with different units or reducing/enlarging plans. They are particularly useful when dealing with both imperial and metric measurements, or when needing to quickly switch between scales during a project. The precision of a 2-bevel ruler ensures accuracy in scaling drawings, blueprints, and technical diagrams. Mastering this tool enhances efficiency and minimizes errors in professional drafting environments, making it a staple for many designers and engineers.
4-Bevel Scale Rulers
4-Bevel scale rulers represent an advanced level of scaling precision, offering four distinct scales on a single instrument. Designed for professionals requiring frequent scale changes, these rulers streamline workflows in architecture, engineering, and design. Each bevel presents a different scale, typically arranged at 90-degree intervals, providing immediate access to a wider range of scaling options.
This eliminates the need to switch between multiple rulers, saving valuable time and reducing potential errors. The versatility of a 4-bevel ruler makes it ideal for complex projects demanding diverse scaling requirements. They are invaluable for interpreting blueprints, creating technical diagrams, and ensuring accurate representations of designs. Mastering the use of a 4-bevel scale ruler significantly enhances efficiency and precision in professional drafting and design applications.

Materials Used in Ruler Construction
Rulers are commonly crafted from metal (steel, aluminum), plastic, or wood, each material offering unique benefits regarding durability, flexibility, and cost-effectiveness.
Metal Rulers (Steel, Aluminum)
Metal rulers, particularly those made from steel and aluminum, are renowned for their exceptional durability and resistance to bending or warping, making them ideal for demanding applications. Steel rulers offer superior rigidity and are often preferred in professional settings where precision is paramount, such as engineering and architecture. However, they can be heavier and more prone to corrosion if not properly maintained.
Aluminum rulers provide a lighter-weight alternative while still maintaining good strength and accuracy. They are naturally corrosion-resistant, making them suitable for use in various environments. Both steel and aluminum rulers typically feature clearly etched markings that resist fading over time, ensuring long-lasting readability. These rulers are frequently used with T-squares and other drafting tools for creating precise technical drawings and blueprints. Their robust construction ensures they can withstand repeated use and maintain their accuracy for years.
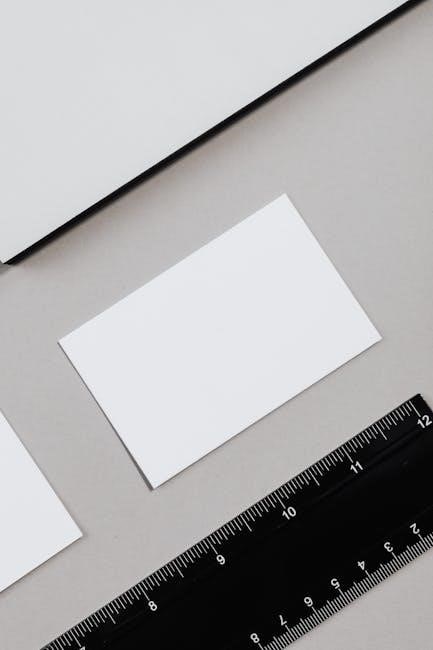
Plastic Rulers
Plastic rulers represent a versatile and cost-effective option for a wide range of measuring needs, commonly found in classrooms, offices, and homes. They are lightweight, readily available, and come in a variety of colors and lengths, making them accessible for diverse applications. While not as rigid as metal rulers, plastic rulers offer sufficient accuracy for general use, including crafting, school projects, and basic measurements.
Different types of plastic are used in their construction, with acrylic providing greater clarity and durability compared to standard polystyrene. However, plastic rulers are more susceptible to bending or breaking under stress and can be affected by temperature changes. Despite these limitations, their affordability and convenience make them a popular choice. They are often preferred when weight is a concern or when precise, professional-grade accuracy isn’t essential, serving well for educational and everyday tasks.
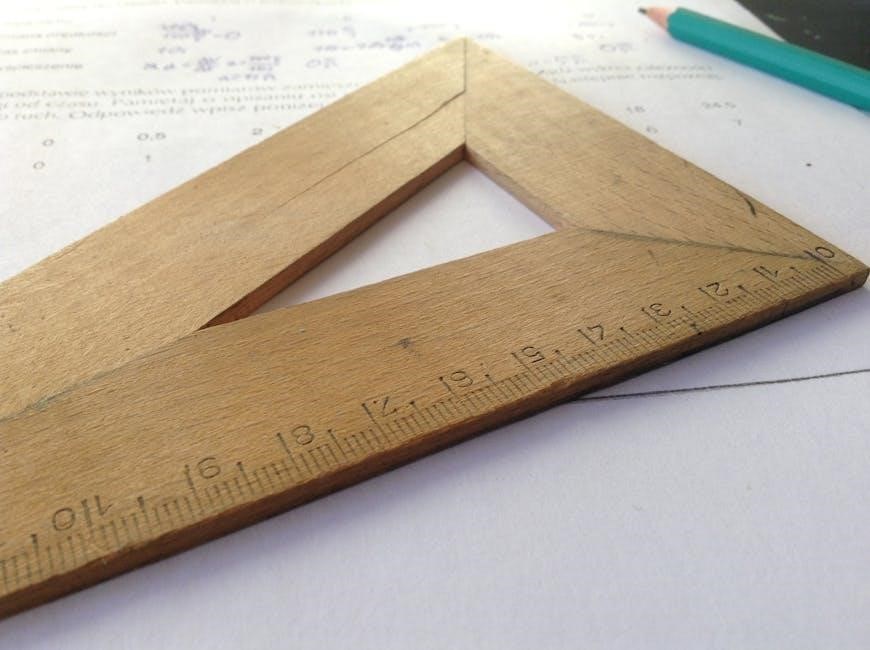
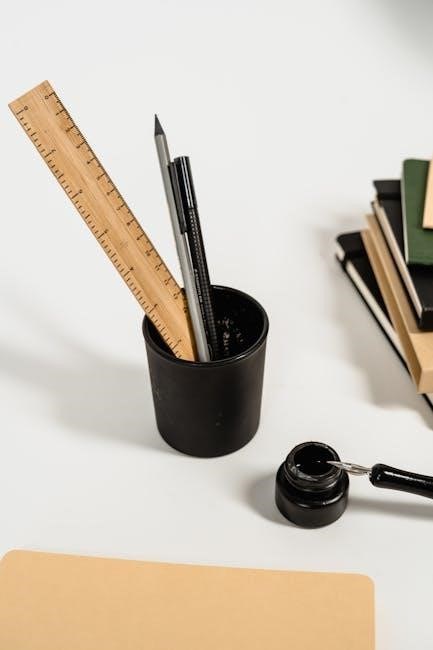
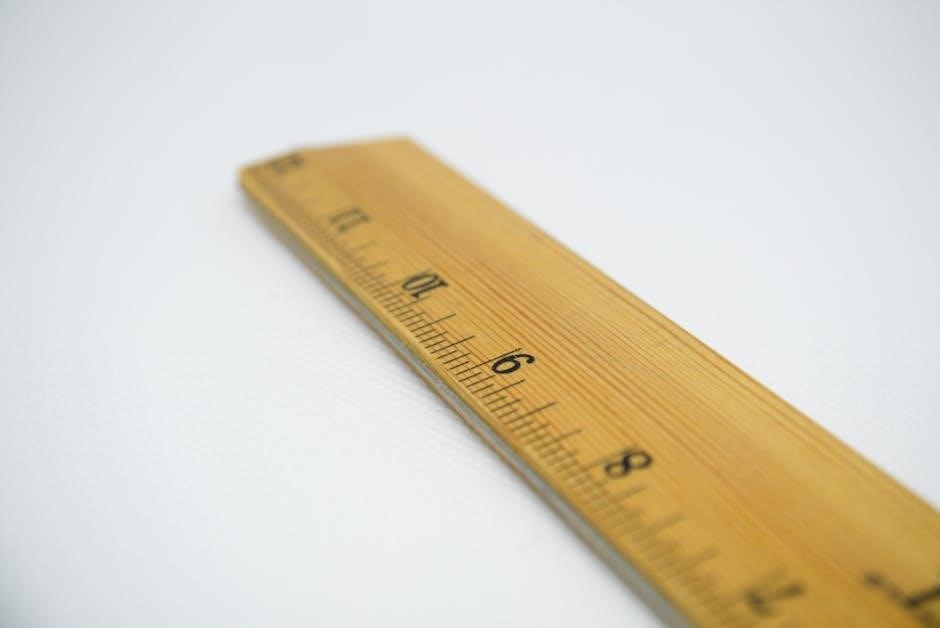
Wood Rulers
Historically significant and still valued today, wood rulers offer a classic aesthetic and a unique tactile experience. Traditionally crafted from hardwoods like maple or boxwood, these rulers possess a warmth and character often lacking in modern materials. While not as common as plastic or metal rulers in professional settings, wood rulers remain popular among hobbyists, woodworkers, and those appreciating traditional tools.
Wood rulers are generally less precise than metal counterparts, being more prone to warping or shrinking with changes in humidity. However, their natural material composition makes them less likely to cause static electricity, a benefit in certain applications. They often feature finely etched markings, providing a visually appealing and durable measurement scale. Though requiring more care and maintenance than other types, a well-preserved wood ruler can become a cherished and functional heirloom, embodying a connection to craftsmanship and history.

Using a Ruler Effectively
Achieving accuracy demands proper technique. Mastering reading measurements, maintaining ruler integrity, and prioritizing safety are crucial for reliable results in all applications.
Reading Measurements Accurately
Precise measurement begins with understanding the ruler’s markings. Always align the zero point accurately with the starting edge of the object being measured. Pay close attention to the units – inches, millimeters, or other scales – and ensure consistent interpretation.
Avoid parallax error by viewing the ruler directly above the measurement point, not at an angle. This ensures your eye is aligned with the marking, preventing skewed readings.
When dealing with fractional inches, familiarize yourself with the common divisions (halves, quarters, eighths, sixteenths). For metric rulers, understand the millimeter and centimeter gradations.
Double-check your readings, especially for critical measurements. A small error can significantly impact the final outcome of a project. Consistent practice and careful observation are key to mastering accurate measurement skills, vital for construction, drafting, and crafting.
Maintaining Ruler Accuracy
Rulers, despite their simplicity, require care to ensure lasting precision. Regularly inspect your rulers for any physical damage – cracks, chips, or bends – which can compromise accuracy. Avoid dropping them or subjecting them to excessive force.
Keep rulers clean and free from debris. Dust, dirt, or residue can obscure markings and lead to misreadings. A soft cloth and mild cleaning agent are sufficient for most materials.
Store rulers properly when not in use. Laying them flat or hanging them prevents warping. Avoid prolonged exposure to extreme temperatures or direct sunlight, which can cause expansion or contraction.
For metal rulers, occasional oiling can prevent rust. Periodically compare your ruler’s measurements against a known standard to verify its continued accuracy. Consistent maintenance extends the lifespan and reliability of your measuring tools.
Safety Considerations When Using Rulers
While seemingly innocuous, rulers require mindful handling to prevent injuries. Always exercise caution when using rulers for cutting or scoring materials; utilize appropriate safety equipment like cutting mats and protective eyewear.
Be aware of your surroundings and ensure a stable work surface to avoid accidental slips or falls. Never point a ruler towards yourself or others during measurement or marking.
Metal rulers can have sharp edges; handle them with care to prevent cuts. When using flexible rulers, avoid overbending, as this can cause them to snap back and cause injury.
Supervise children when they are using rulers, and teach them proper handling techniques. Store rulers securely when not in use to prevent accidental access or misuse. Prioritizing safety ensures a productive and injury-free experience.