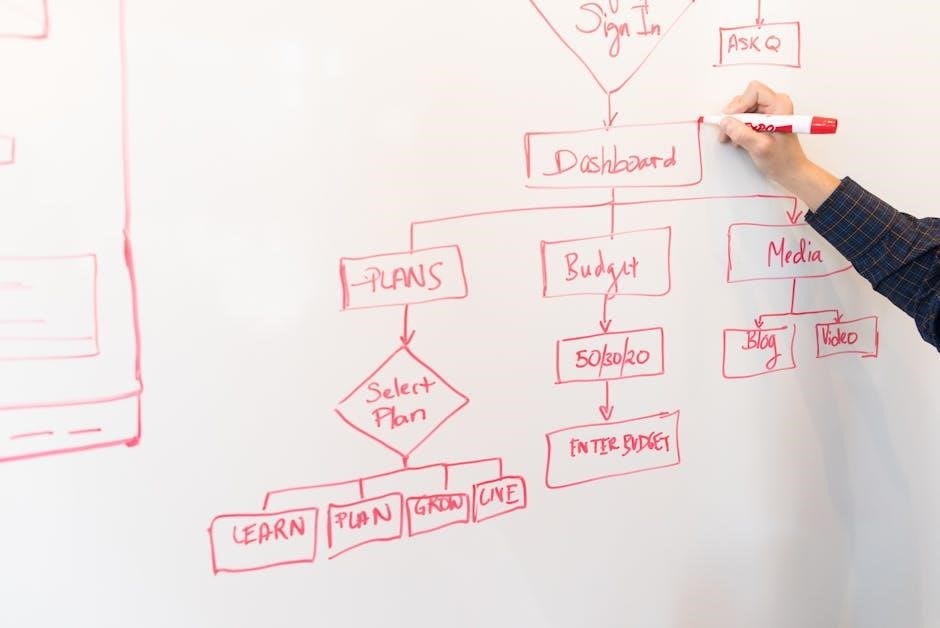
Uponor HepEX Installation Manual: A Comprehensive Guide
This manual details the installation of Uponor HepEX systems, covering design, material selection, and step-by-step connection procedures.
It also addresses troubleshooting, storage, and adherence to local regulations for optimal performance.
Uponor’s PEX piping and ProPEX fittings are highlighted, alongside guidance for both residential and commercial applications, including radiant floor heating systems.
Uponor HepEX represents a leading-edge solution in plumbing and hydronic heating, offering a robust and reliable alternative to traditional piping materials. This system, utilizing cross-linked polyethylene (PEX) piping – specifically Wirsbo hePEX – coupled with ProPEX expansion fittings, delivers exceptional performance and longevity. The HepEX system is engineered for a wide array of applications, spanning residential plumbing, radiant floor heating, and complex commercial piping networks.
Understanding the core principles of HepEX is crucial for successful installation. The expansion connection method, facilitated by specialized tools like Milwaukee ProPEX expanders, creates a secure, leak-free joint that accommodates thermal expansion and contraction. This design minimizes stress on connections, enhancing system durability.
This introduction serves as a foundational overview, preparing installers for the detailed procedures outlined in this manual. Proper installation, adhering to guidelines and local codes, ensures the system’s efficiency and maximizes its lifespan. Referencing the Uponor Hydronic Piping Design Assistance Manual (HPDAM) is also recommended for comprehensive design considerations.
What is Uponor HepEX?
Uponor HepEX is a complete piping system designed for both potable water and hydronic heating applications. At its heart lies Wirsbo hePEX, a durable, flexible, and corrosion-resistant cross-linked polyethylene (PEX) pipe. This pipe is specifically engineered to withstand the pressures and temperatures associated with modern plumbing and heating systems.
The ‘HepEX’ designation signifies the integration of hePEX pipe with Uponor’s innovative ProPEX expansion connection technology. Unlike traditional methods, ProPEX utilizes expansion to create a strong, reliable joint without adhesives or solvents. This method allows for natural pipe movement due to thermal changes, reducing stress and potential leaks.
The system encompasses a full range of fittings, including straight connectors, elbows, tees, and valves, all designed for compatibility with hePEX pipe. Commercial applications benefit from the availability of larger pipe sizes and specialized fittings. Uponor provides comprehensive design assistance, ensuring optimal system performance and adherence to industry standards, as detailed in their manuals.
Benefits of Using Uponor HepEX
Uponor HepEX offers numerous advantages over traditional piping systems. Its flexibility simplifies installation, reducing the need for numerous fittings and minimizing bending radius concerns. This translates to faster installation times and lower labor costs.
The corrosion-resistant nature of hePEX ensures long-term durability and eliminates the risk of rust or scale buildup, maintaining water quality and system efficiency. ProPEX connections create a watertight seal, minimizing the potential for leaks and associated water damage.
HepEX systems accommodate thermal expansion and contraction, reducing stress on joints and preventing failures. The system’s quiet operation is a significant benefit, particularly in residential applications. Furthermore, Uponor provides extensive design assistance and support, ensuring optimal system performance and compliance with local codes, as outlined in their detailed manuals and engineering guides.

Planning Your Installation
Careful planning is crucial for a successful HepEX installation. This involves detailed system design, accurate material selection – pipe and fittings – and gathering the necessary tools for the job.
System Design Considerations
Effective system design is paramount for optimal performance and longevity of your Uponor HepEX installation. Begin by thoroughly assessing the building’s heating and cooling demands, accounting for heat loss calculations and desired comfort levels. Consider the layout, identifying the most efficient routing for the piping network, minimizing bends and maximizing flow rates.
Hydronic piping systems require careful attention to water velocity and pressure drop. Proper sizing of the pipes is essential to prevent noise and ensure adequate heat distribution. Commercial applications often necessitate more complex designs, factoring in future expansion and potential modifications.
Consult the Uponor Hydronic Piping Design Assistance Manual (HPDAM) for detailed guidance on system design principles. This resource provides valuable information on polyethylene corrosion prevention and adherence to local codes. Remember to prioritize a design that balances efficiency, cost-effectiveness, and ease of installation. A well-planned system will minimize potential issues and maximize the benefits of Uponor HepEX technology.
Material Selection: Pipe and Fittings
Choosing the correct materials is crucial for a reliable Uponor HepEX system. Uponor offers both Wirsbo hePEX and AquaPEX piping, both engineered for durability and performance. Wirsbo hePEX is a premium choice, known for its exceptional flexibility and resistance to corrosion. AquaPEX provides a cost-effective alternative without compromising quality.
ProPEX fittings are integral to the system, creating secure, leak-free connections. Select fittings compatible with the chosen pipe size and application. For pipe sizes up to 3 inches, ProPEX fittings are recommended. Larger diameters (3 1/2 and 4 inches) require WIPEX fittings.
Consider the application when selecting materials. Radiant floor heating may benefit from oxygen barrier PEX to prevent corrosion. Commercial projects often demand robust materials capable of withstanding higher pressures and temperatures. Always verify material compatibility and adhere to Uponor’s guidelines for optimal system performance and longevity.
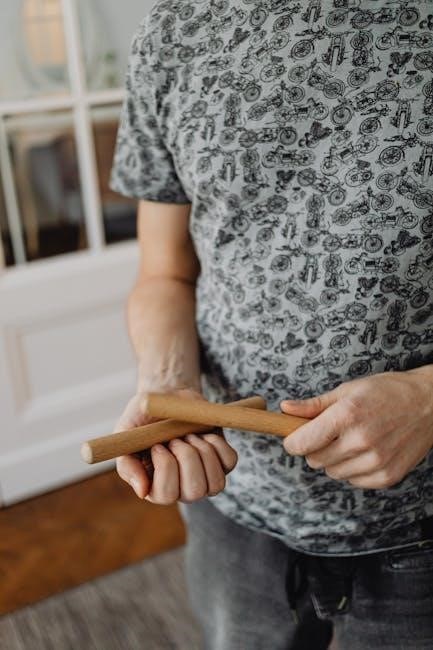
Tools Required for HepEX Installation
Successful HepEX installation demands specific tools ensuring proper pipe expansion and secure connections. The core tool is the ProPEX expansion tool, available in both auto-rotation (Milwaukee) and manual versions. Auto-rotation significantly speeds up the process, especially for larger projects.
Essential accessories include ProPEX expansion heads sized to match the pipe diameter, a pipe cutter designed for PEX tubing, and a deburring tool to create smooth edges. A PEX crimp ring tool is needed if utilizing crimp connections, though ProPEX is preferred.
Additional helpful tools are a measuring tape, marker, and potentially a pipe straightening tool for rigid tubing. Milwaukee ProPEX tools are highly regarded for their reliability and efficiency. Always prioritize quality tools to guarantee consistent, leak-proof connections and a long-lasting plumbing system.

Installation Process: Step-by-Step
Begin by preparing the pipe, then expand it using a ProPEX tool. Insert the fitting, allowing the pipe to contract, forming a secure joint. Verify connections for leaks.
Preparing the Pipe for Connection
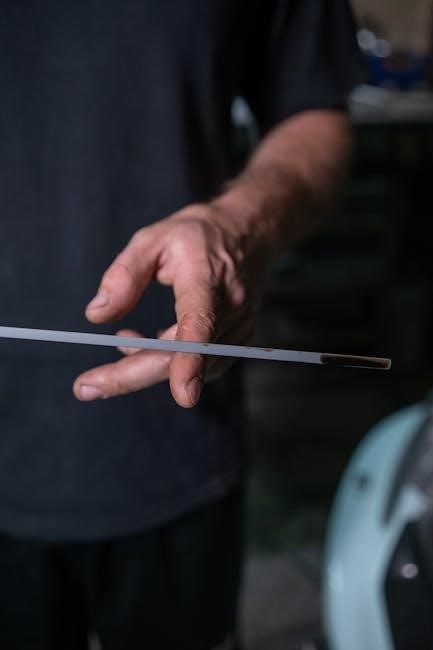
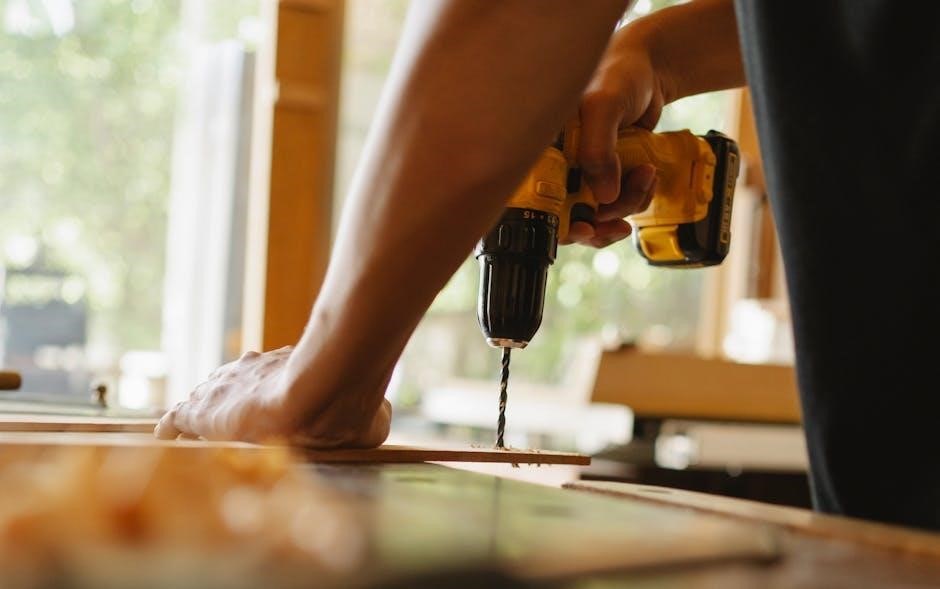
Proper pipe preparation is crucial for creating reliable ProPEX connections. Begin by ensuring the Uponor hePEX pipe is cut cleanly and squarely, utilizing a dedicated pipe cutter designed for PEX tubing. Avoid using a saw, as it can create burrs or uneven edges that compromise the seal.
Deburr the inside and outside of the pipe after cutting. This removes any imperfections that could hinder the expansion process or create turbulence within the system. A deburring tool specifically made for PEX is recommended for optimal results.
Clean the pipe’s exterior surface to remove any dirt, debris, or moisture. A clean surface ensures proper grip for the expansion tool and prevents contamination of the connection. Inspect the pipe for any damage, such as kinks or scratches, and discard any sections with significant flaws. Accurate measurements are also vital to ensure sufficient pipe length for insertion into the fitting.
Using ProPEX Expansion Tools
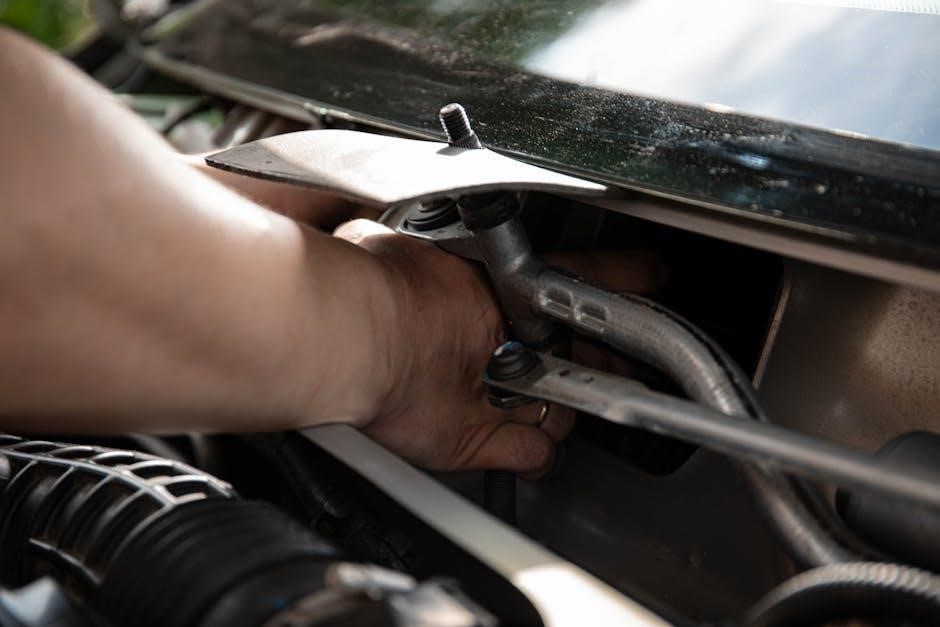
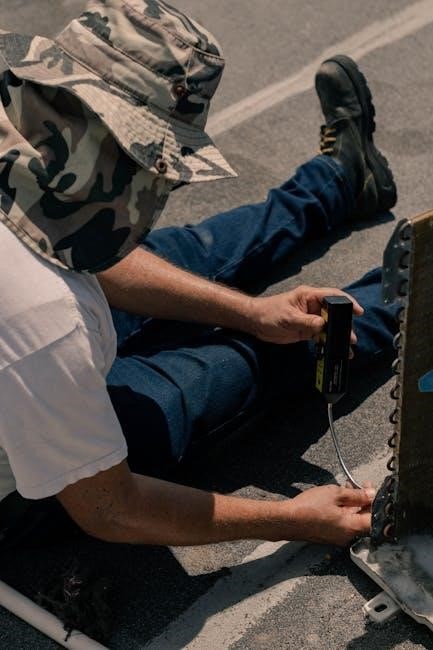
ProPEX expansion tools are essential for creating secure, leak-free connections with Uponor hePEX piping. These tools stretch the pipe, allowing it to fit snugly over the ProPEX fitting’s barb. Uponor offers a range of tools, including Milwaukee ProPEX options with and without auto-rotation features.
Select the correct expansion head size corresponding to the pipe diameter. Ensure the head is securely attached to the tool. Position the expansion head over the prepared pipe end and activate the tool. The pipe will expand outwards, creating a larger internal diameter.
Maintain a firm grip on the tool and pipe during expansion. Immediately slide the expanded pipe onto the ProPEX fitting barb to the designated depth. Release the tool, allowing the pipe to contract and form a tight seal. Proper tool maintenance and calibration are vital for consistent, reliable expansions.
Milwaukee ProPEX Expansion Tools ⸺ Auto Rotation
Milwaukee ProPEX expansion tools with auto-rotation significantly enhance installation speed and efficiency. These tools feature a rotating expansion head, minimizing the physical effort required from the installer and ensuring consistent expansion across the pipe’s circumference.
The auto-rotation function automatically spins the expansion head during operation, distributing the force evenly and reducing the risk of pipe distortion or damage. This is particularly beneficial when working with larger diameter pipes or in confined spaces.
Operation is straightforward: select the appropriate expansion head, attach it securely, position the tool on the pipe, and activate the trigger. The tool handles the rotation automatically. Regularly inspect the expansion heads for wear and tear, replacing them as needed to maintain optimal performance and connection integrity.
Milwaukee ProPEX Expansion Tools ‒ Without Auto Rotation

Milwaukee ProPEX expansion tools without auto-rotation, often referred to as standard Uponor heads, offer a reliable and cost-effective solution for PEX pipe expansion. While requiring manual rotation, these tools provide precise control over the expansion process.
Installation involves securely attaching the correct size expansion head to the tool, positioning it onto the pipe, and then manually rotating the tool 360 degrees. Consistent and complete rotation is crucial for achieving a proper expansion and a secure ProPEX connection.
These tools are ideal for situations where auto-rotation isn’t necessary or for installers who prefer the tactile feedback of manual operation. Regular maintenance, including lubrication and inspection of the expansion heads, is essential for ensuring smooth operation and longevity. Proper technique is key to avoid pipe damage.
Making ProPEX Connections
Creating secure ProPEX connections is fundamental to a reliable Uponor HepEX system. The process begins with properly preparing the pipe, ensuring a clean and deburred end; Following pipe preparation, utilize a compatible ProPEX expansion tool to expand the pipe’s diameter, creating a receptive opening for the fitting.
Immediately after expansion, insert the ProPEX fitting into the expanded pipe, driving it fully to the stop. The pipe will shrink back, creating a tight, secure, and leak-proof connection. Avoid delays between expansion and fitting insertion, as the pipe will return to its original size.
Consistent technique and adherence to manufacturer’s guidelines are vital. Always verify the connection by gently tugging on the pipe to confirm a solid bond. Proper connections ensure long-term system integrity and prevent costly leaks.
General ProPEX Connection Tips
Prior to initiating any ProPEX connection, meticulously inspect both the pipe and fitting for any debris or imperfections. A clean working environment is crucial for optimal results. Ensure the expansion tool is correctly calibrated for the specific pipe size being used; incorrect sizing leads to compromised connections.
Maintain a swift workflow – insert the fitting immediately after expansion. Hesitation allows the pipe to contract, hindering a secure seal. Avoid twisting or rotating the pipe during insertion, as this can disrupt the connection. A straight, firm push is recommended.
Post-connection, visually inspect the fitting’s position, confirming it’s fully seated. A slight gap indicates an improper connection requiring re-work. Regularly check the expansion tool’s jaws for wear and tear, replacing them as needed to maintain consistent expansion quality.
Wirsbo hePEX Piping Installation
Wirsbo hePEX piping, renowned for its flexibility and durability, requires careful installation to ensure long-term performance. Begin by accurately measuring and cutting the pipe, utilizing a sharp cutting tool to achieve a clean, square end. Deburring the pipe’s interior is essential to prevent obstructions during fitting insertion.
Support the piping adequately, adhering to recommended spacing guidelines to prevent sagging or stress. When navigating bends, avoid sharp angles; utilize gradual curves to maintain flow efficiency. Consider thermal expansion and contraction, incorporating expansion loops where necessary, particularly in long runs.
Always employ ProPEX fittings specifically designed for Wirsbo hePEX pipe. Refer to Uponor’s design assistance manuals for detailed guidance on system layout and component selection. Proper installation techniques, combined with quality materials, guarantee a reliable and efficient hydronic system.
Specific Applications
Uponor HepEX excels in diverse applications, including radiant floor heating, commercial plumbing, and hydronic piping systems.
Its versatility and reliability make it ideal for various project needs.
Radiant Floor Heating with HepEX
HepEX is exceptionally well-suited for radiant floor heating systems, offering consistent and efficient heat distribution. Installation typically involves securing furring strips to ceiling joists, perpendicular to them, when implementing radiant ceiling systems. Utilizing an aluminum plate as a guide ensures precise placement of the Wirsbo hePEX piping.
Starting at the exterior wall – the area experiencing the highest heat loss – is a recommended practice. This approach maximizes energy efficiency and comfort. Proper spacing of the tubing is crucial for even heat emission, and Uponor provides detailed guidance on optimal layouts.
Consider using Uponor Joist Trak™ heat emission plates to enhance heat transfer and secure the tubing effectively. These plates facilitate a streamlined installation process and improve overall system performance. Careful planning and adherence to design guidelines are essential for a successful radiant floor heating installation with HepEX.
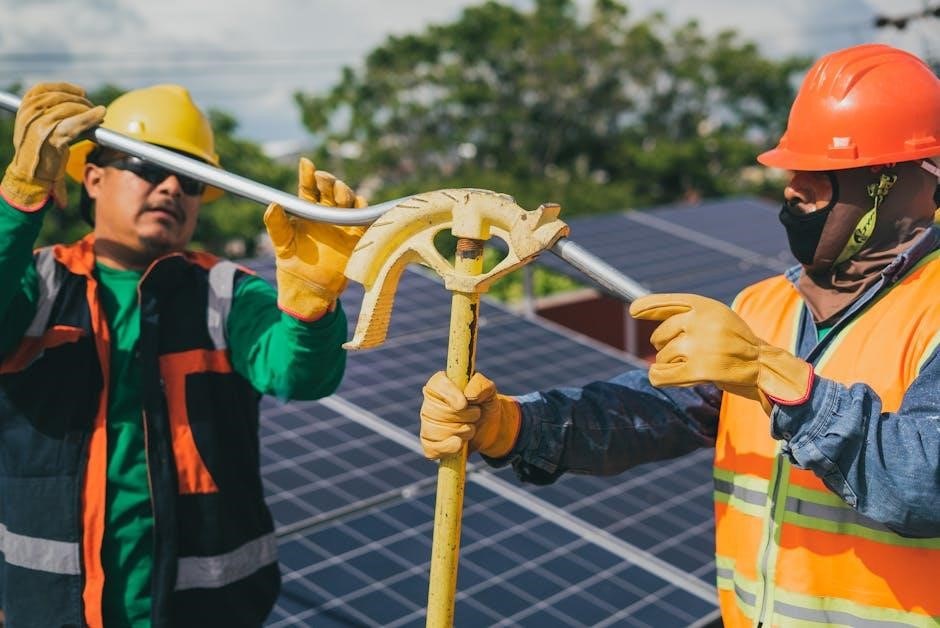
Commercial Piping Systems with HepEX
Uponor AquaPEX and Wirsbo hePEX piping, coupled with ProPEX fittings, deliver exceptional value, durability, and performance for demanding commercial plumbing and hydronic piping projects. With a proven track record spanning over 40 years in installations globally, Uponor products offer reliability and longevity.
For pipe sizes up to 3 inches, utilize ProPEX fittings; however, for 3 ½ and 4-inch pipe, WIPEX fittings are necessary. This distinction is crucial for ensuring secure and leak-proof connections within the commercial system. Proper material selection is paramount, considering factors like water quality and operating pressure.
Engineers should consult the Commercial Piping Systems Engineer Reference Guide for detailed specifications and design considerations. This resource provides comprehensive information on system design, installation best practices, and adherence to relevant codes and standards, ensuring a robust and compliant commercial piping infrastructure.
Hydronic Piping Systems Design
Uponor’s Hydronic Piping Design Assistance Manual (HPDAM) serves as a vital resource for architects, building officials, engineers, and mechanical contractors involved in designing and installing Uponor hydronic piping systems. This manual details general installation recommendations utilizing Uponor PEX piping products, ensuring optimal system performance and longevity.
The HPDAM emphasizes the importance of referencing local codes for additional requirements, as these can vary significantly depending on the location. Careful consideration must be given to factors like pipe sizing, flow rates, and heat loss calculations to create an efficient and effective hydronic system;
Corrosion prevention is a key focus, with the manual outlining strategies to mitigate potential issues. Proper material selection and adherence to best practices are crucial for maintaining the integrity of the system and preventing premature failure. The manual provides guidance on polyethylene corrosion and preventative measures.

Important Considerations
Proper storage and handling are crucial to prevent damage. Corrosion prevention requires careful material selection. Always adhere to local codes and regulations during installation for safety and compliance.
Storing and Handling Guidelines
Uponor HepEX piping requires careful storage and handling to maintain its integrity and ensure optimal performance. It is essential to store the piping in a cool, dry, and well-ventilated area, shielded from direct sunlight and extreme temperatures. Avoid storing materials directly on the ground; instead, utilize pallets or supports to prevent damage and contamination.
Protect the piping from physical damage, such as punctures, abrasions, or crushing, during transportation and storage. Do not drop or drag coils of piping, as this can cause kinking or deformation. When uncoiling, exercise caution to avoid twisting or bending the pipe beyond its recommended limits.
Keep the piping clean and free from dirt, debris, and other contaminants. Avoid storing it near sources of chemicals, solvents, or other substances that could potentially react with the material. Following these guidelines will help preserve the quality and longevity of your Uponor HepEX system.
Corrosion Prevention in HepEX Systems
Uponor HepEX systems demonstrate excellent corrosion resistance due to the inherent properties of PEX piping. However, maintaining this resistance requires adherence to specific guidelines during installation and operation. Avoid introducing corrosive materials into the system, such as dissimilar metals without dielectric unions, or aggressive chemicals.
Proper water chemistry is crucial; monitor and maintain appropriate pH levels and avoid excessive chlorine or oxygen content. When connecting to existing metallic piping, utilize dielectric unions to prevent galvanic corrosion. Ensure all fittings and connections are compatible with PEX and the system’s intended fluid.

Regular system flushing can remove sediment and debris that may contribute to corrosion. Following these preventative measures will safeguard the longevity and reliability of your Uponor HepEX installation, ensuring years of trouble-free performance.
Adhering to Local Codes and Regulations
Successful Uponor HepEX installations necessitate strict compliance with all applicable local plumbing codes and regulations. These codes vary significantly by region and are designed to ensure public health and safety. Always consult with local authorities and obtain necessary permits before commencing any work.
The Uponor Hydronic Piping Design Assistance Manual (HPDAM) provides general recommendations, but local codes take precedence. Pay close attention to requirements regarding pipe support, expansion control, and testing procedures. Ensure the installer is fully aware of and trained in these specific regulations.
Documentation of compliance, including permits and inspection records, is essential. Failure to adhere to local codes can result in costly rework, fines, or system rejection. Prioritize code compliance throughout the entire installation process for a safe and legally sound outcome.
Troubleshooting Common Issues
Addressing leaks and managing pipe movement are crucial. Proper leak detection techniques and understanding thermal expansion/contraction are key to resolving common Uponor HepEX system problems.
Leak Detection and Repair
Identifying leaks promptly is vital for maintaining system integrity. Begin by visually inspecting all connections – look for water droplets or signs of moisture around ProPEX fittings. A pressure test, conducted according to local codes, can pinpoint leaks not readily visible. Lower system pressure gradually and carefully observe connections.
If a leak is detected, immediately shut off the water supply. For minor leaks at a ProPEX connection, re-examine the fitting and pipe insertion depth. Sometimes, a slight adjustment or re-expansion can resolve the issue. However, if the fitting is damaged or the pipe is compromised, it must be cut out and replaced.
Always use the correct ProPEX tools and fittings for repairs. Ensure the replacement fitting is fully inserted and properly expanded. After repair, repeat the pressure test to confirm the leak is resolved. Never attempt to patch or temporarily fix a ProPEX connection; complete replacement is the only reliable solution. Document all repairs for future reference.
Dealing with Pipe Expansion and Contraction
Uponor hePEX piping, like all polymeric materials, expands and contracts with temperature fluctuations. Proper accommodation of this movement is crucial to prevent stress on connections and potential leaks. Expansion loops or offsets should be incorporated into long, straight runs of piping, particularly in radiant floor heating systems where temperature variations are significant.
Support hangers must allow for axial movement; avoid rigidly fixing the pipe at multiple points. Utilize hangers designed for PEX piping that permit sliding or floating. Consider using flexible connectors where the piping connects to fixed structures, like manifolds or boilers, to absorb movement.
Calculating expansion and contraction requires knowing the pipe’s coefficient of thermal expansion, the temperature range, and the pipe’s length. Consult Uponor’s design assistance manuals for specific guidance and tables. Ignoring thermal expansion can lead to premature failure of fittings and piping, so proactive planning is essential.